How to Tilt Your Head Left or Right for a Better Look Using AI
Learn to add a dynamic head tilt to your portraits with Expression Editor AI. This tutorial shows you how to use the "Roll (Tilt)" slider to create a more engaging and natural pose.
What You'll Learn
- How to use the "Roll (Tilt)" slider to tilt the head.
- How to correct an unnatural head position or add a stylish tilt.
- How to make portraits look more dynamic and less static.
- Why calibration is an optional but helpful step for previewing your edits.
Key Benefits
- Improve the composition and dynamism of your portraits.
- No expensive software or complex editing skills needed—all online.
- Fix photos with awkward or stiff head positioning.
- Get professional-quality results in under a minute with Expression Editor AI.
- Create a more engaging and approachable look in headshots.
Prerequisites
- A clear photograph with a single, front-facing subject.
- An Expression Editor AI account with access to the Face Edit feature.
Who is this for?
Dos
- Use high-quality, single-person photos for the best results.
- A little tilt goes a long way. Use subtle adjustments for realism.
- Combine head tilt with other adjustments like a smile for a complete expression.
Don'ts
- Don't use photos with multiple faces; the tool can only recognize one.
- Don't expect the 3D avatar to look exactly like the person in your photo.
- Don't over-tilt the head to a point where it looks unnatural.
Tutorial Recap
Key Steps
Open the Face Edit feature & Upload
Log into your Expression Editor AI account, navigate to the Face Edit feature, and upload your photo. For best results, use a photo with a single, clear face.
(Optional) Calibrate for 3D Preview
For guidance, you can calibrate the face to our generic 3D model. This step is recommended if you want a real-time preview of your adjustments, but it can be skipped.
Navigate to Head Controls
In the settings panel on the bottom left, click on the "Head" tab to reveal all the adjustment controls.
Adjust the Head Tilt (Roll)
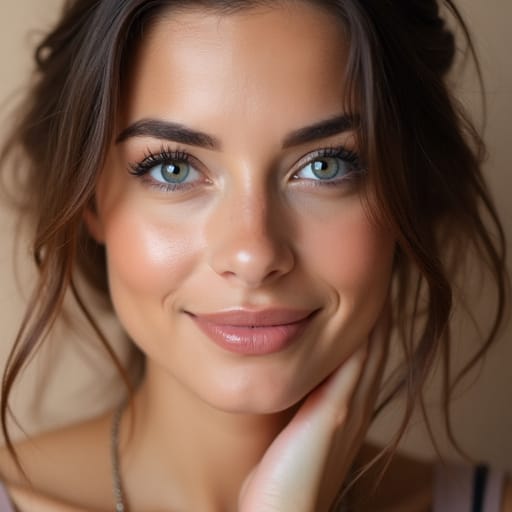
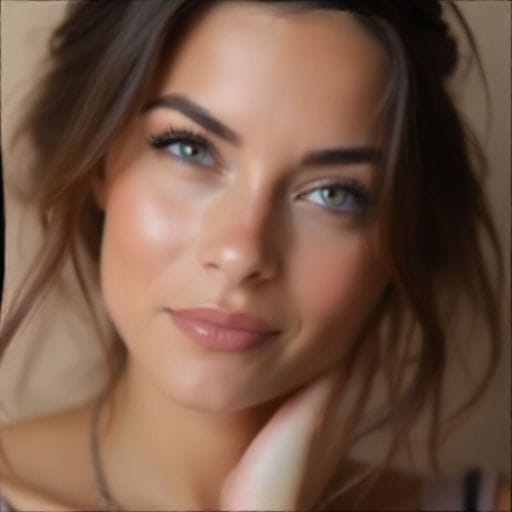
Use the 'Roll (Tilt)' slider to tilt the head to the left or right. A slight tilt can make a pose look much more natural and dynamic.
Apply and Generate
Once you're ready, click "Apply" to generate the final, high-quality image with your head position adjustment applied directly to your original photo.
Frequently Asked Questions
Still have questions?
Can't find the answer you're looking for? Don't worry, we've got you covered.
Related Features for Face Edit
Eye Controls
Take precise control of eye expressions with intuitive adjustments for eye direction, openness, and eyebrow positions to create perfect eye contact and natural expressions.
Face Editor
Transform facial features with complete control over eyes, mouth, and head position. Create the perfect face using our intuitive 3D controls and real-time preview.
Head Movements
Fine-tune head positioning with precise rotation controls for pitch, yaw, and roll adjustments. Create natural-looking head angles and poses with intuitive controls and real-time 3D preview.
Mouth Adjustments
Shape the perfect smile and mouth expressions with precise controls. Adjust smile intensity and create various mouth shapes with our interactive 3D preview system.


Bring Your Vision to Life
You've learned the steps, now it's time to create. Unleash your creativity with Expression Editor AI and transform your photos today.
Start Creating Now