A single degree of difference in a subject's head position can change the entire mood of a portrait. A perfectly straight-on photo can look like a passport picture—static and impersonal. A slight tilt can make the subject seem more approachable and dynamic. A chin lifted just a fraction can convey confidence.
For photographers and content creators, capturing that perfect angle in-camera is the goal, but it's not always possible. And once the photo is taken, fixing a head position has long been considered one of the most difficult tasks in photo editing. Trying to rotate a 3D object in a 2D image using tools like Photoshop is a fast track to distorted, unnatural results unless you are a VFX expert.
But what if you could make these subtle, powerful adjustments online, in minutes, with just a few sliders? This guide will show you how.
Why is Adjusting Head Angle So Difficult?
The challenge lies in perspective. A human head isn't a flat object. When you turn or tilt it, angles and features change in complex ways. One side of the face becomes more prominent, the jawline shifts, and the relationship between the eyes, nose, and mouth is altered.
Traditional software like Photoshop has no inherent understanding of this 3D reality. Tools like Liquify or Warp simply stretch pixels, which is why attempts to "rotate" a head often result in a warped, uncanny-looking face.
The Solution: AI That Thinks in 3D
To realistically change a head's angle, you need a tool that understands its three-dimensional structure. Expression Editor AI is built on a sophisticated AI model that does exactly that.
Instead of just manipulating a flat image, our tool applies your adjustments to an underlying 3D model of the face, ensuring that every change is anatomically correct and photorealistic. This gives you the power to act as a virtual photographer, subtly redirecting your subject's pose long after the shoot is over.
Step-by-Step Guide: How to Adjust Head Position Online
Follow these simple steps to gain full control over the angle of the head in your photos.
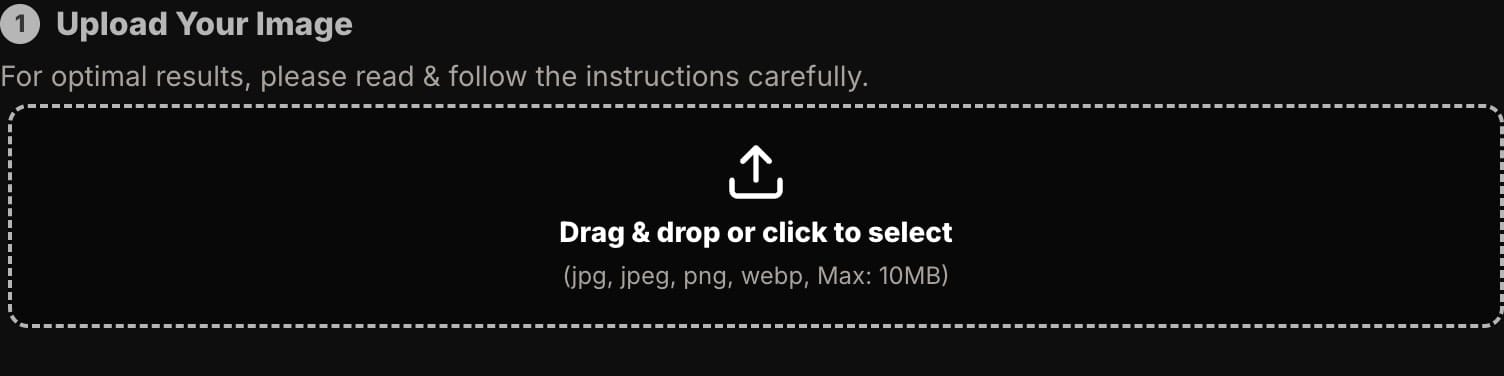
Step 1: Upload Your Portrait
First, navigate to the 'Face Edit' Feature and upload your photo. For the best results, use a clear, relatively front-facing portrait.
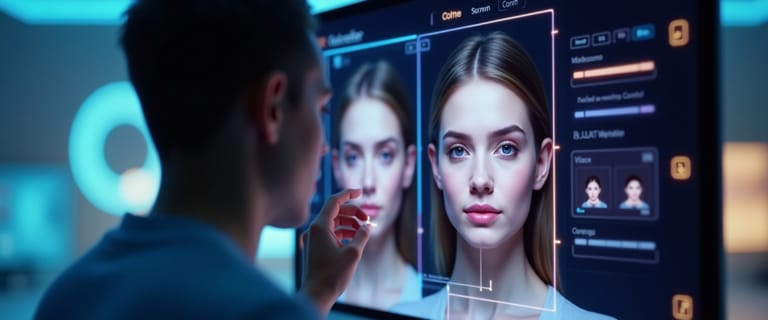
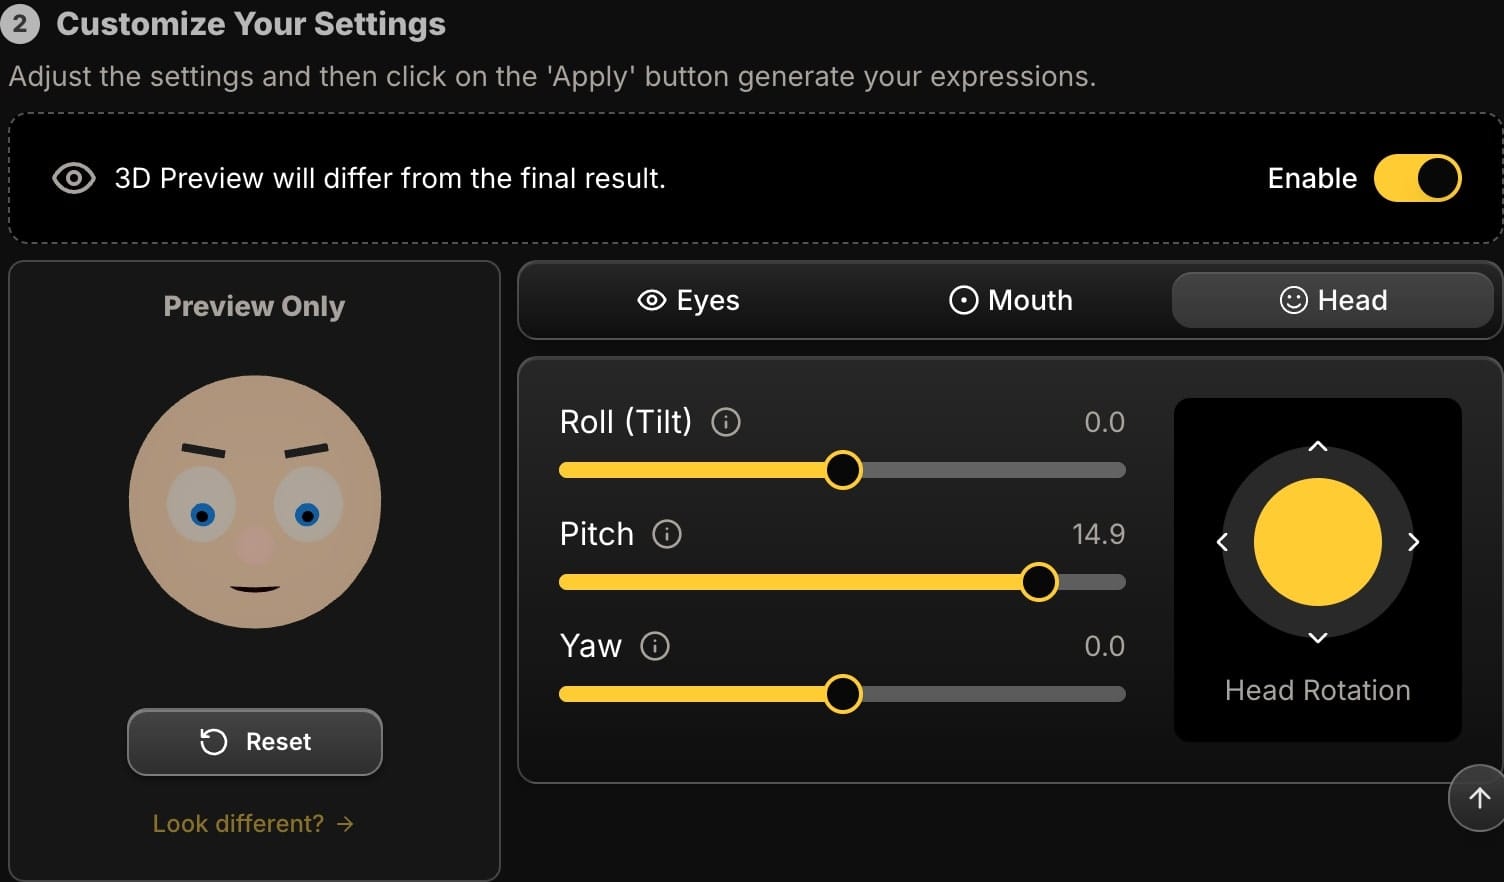
Step 2: Navigate to the 'Head' Controls
In the editing panel on the right side of the screen, click on the "Head" tab. This will reveal the complete suite of controls for adjusting head position.

Step 3: Understand and Use the Core Controls
You have three powerful sliders that correspond to the three axes of head movement:
- Pitch (Up/Down Tilt): This is like nodding. A negative value tilts the chin up, which can create a sense of confidence or even arrogance. A positive value tilts the chin down, often conveying thoughtfulness or coyness.

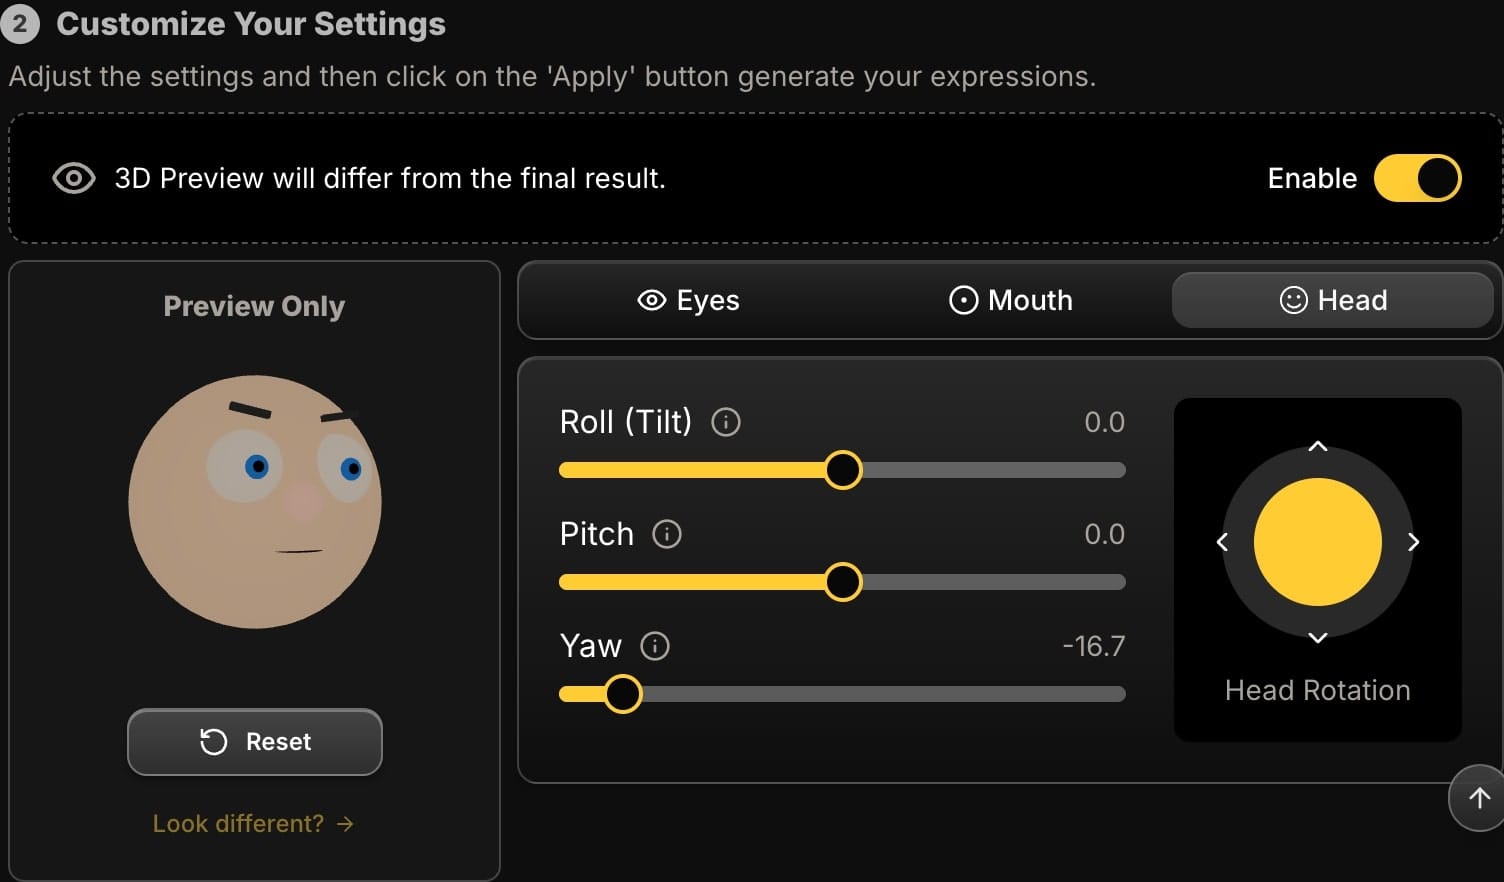
- Yaw (Left/Right Turn): This is like shaking your head 'no'. It turns the face to one side. This is perfect for shifting the subject's gaze and focus within the frame.

- Roll (Side-to-Side Tilt): This is like tilting your head towards your shoulder. A slight roll is one of the easiest ways to break a static, "mugshot" pose and add a sense of dynamism and personality to a portrait.

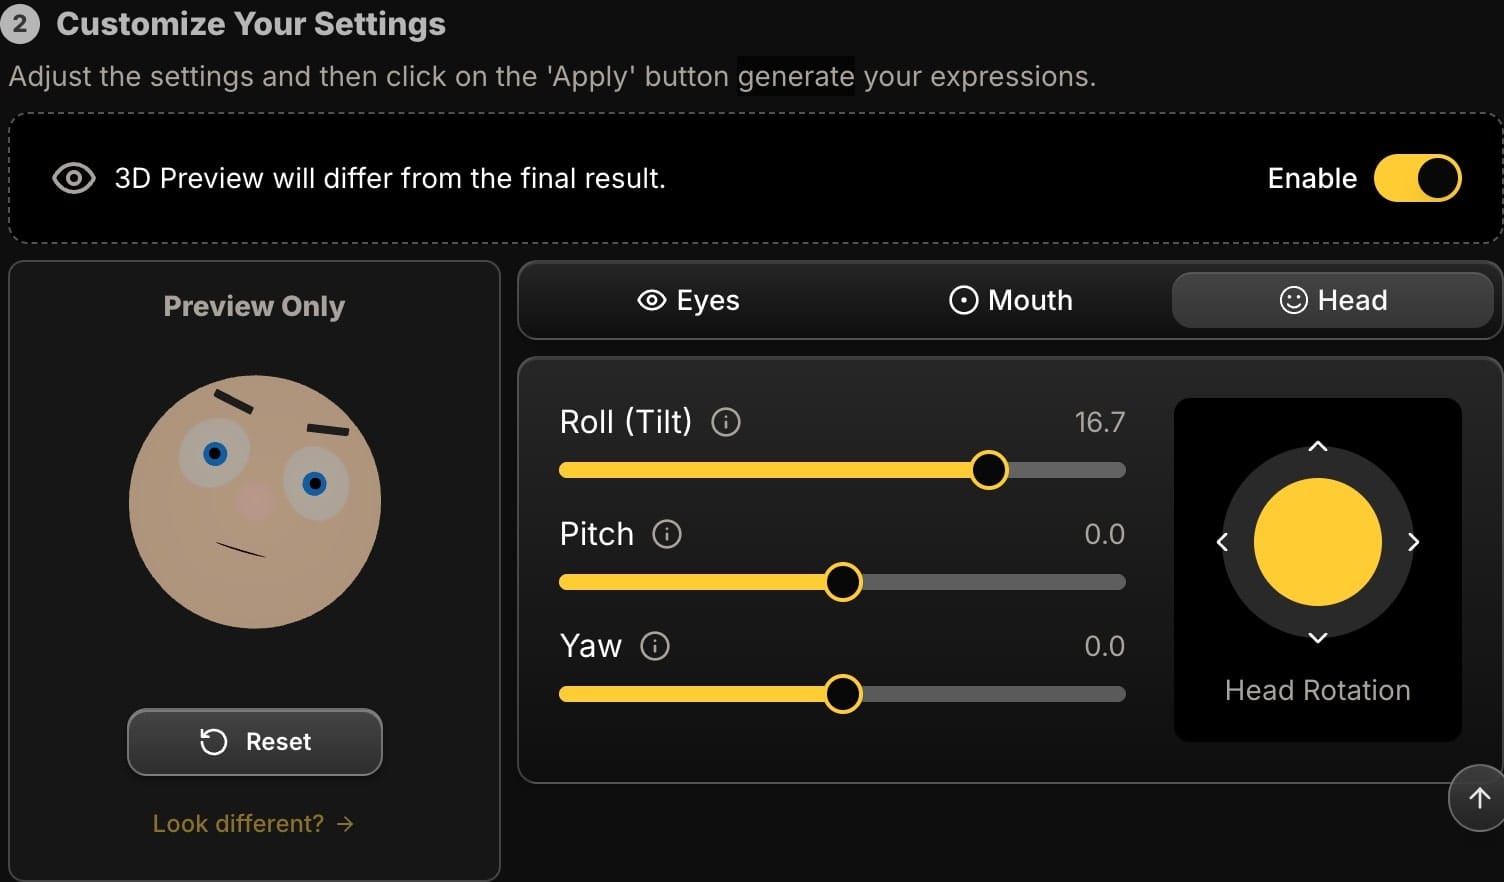
Pro-Tip: Start with very small adjustments. A change of just 2-3 degrees can have a massive impact.
Step 4: Use the Joystick for Intuitive Control
For even faster adjustments, you can use the joystick. Moving it up/down controls the Pitch, and moving it left/right controls the Yaw. It's an intuitive way to find the perfect angle by "feeling" it out in real-time.
Step 5: Preview and Apply
As you move the sliders or the joystick, watch the 3D preview avatar. This feature uses a simple avatar to give you an instant visualization of the effect of your settings, helping you guide the AI before committing to the final generation. It's a tool to eliminate guesswork. Once you're happy with the new angle, click "Apply", and the AI will render the changes onto your actual photo, creating a new, perfectly-posed portrait in high resolution.
Practical Use Cases for Head Angle Adjustments
- Fixing a "Mugshot" Portrait: Is your headshot too stiff and formal? Add a small amount of Roll (e.g., 3 to 5 degrees) to instantly make it more engaging and friendly.
- Creating a Connection: If the subject is looking slightly away, use the Yaw control to turn their face more towards the viewer, creating a stronger sense of connection.
- Subtly Shifting the Mood: Want a more confident and assertive look for a corporate headshot? Try a tiny bit of negative Pitch (chin up). For a softer, more artistic portrait, try a bit of positive Pitch (chin down).
Conclusion: The Director's Chair for Your Portraits
The ability to subtly adjust head angles is a game-changer, turning near-perfect shots into flawless final images. What was once the domain of high-end visual effects artists is now accessible to everyone through intuitive online tools.
With Expression Editor AI, you are no longer limited by the exact pose captured in the original photo. You have the power to fine-tune, correct, and perfect your portraits with a level of control that was previously unimaginable.
Ready to take control of your portraits? Try Expression Editor AI and see the difference a few degrees can make.