Every photographer knows the feeling. You're reviewing the shots from an event, a wedding, or a candid street session. You find a photo with raw emotion, perfect lighting, and impeccable timing. It's the money shot... except for one unfixable flaw: a bad camera angle has made the subject's head position awkward, unflattering, or disconnected from the scene.
Reshooting is not an option. It was a once-in-a-lifetime moment. For years, the only choice was to either accept the flaw or discard the photo. Trying to "fix" a head's position in Photoshop was a fool's errand for all but the most elite VFX artists, often resulting in distorted, creepy edits.
But now, there's a third option. Thanks to AI, you don't have to reshoot. You can repose.
The Core Problem: A 2D Tool Can't Solve a 3D Problem
A subject's head position is a complex, three-dimensional state. A camera angle that's too low makes the chin recede and highlights the nostrils. An angle that's too high can make the subject look diminished. An awkward side tilt can break the connection with the viewer.
Traditional 2D editing tools fail because they can't comprehend this 3D reality. They stretch and warp pixels, but they don't understand that a jawline should move with the turn of a head, or that perspective on the nose should change as the chin lifts. This is why the results almost always fall into the "uncanny valley."
The AI Solution: Digital Reposing with 3D Awareness
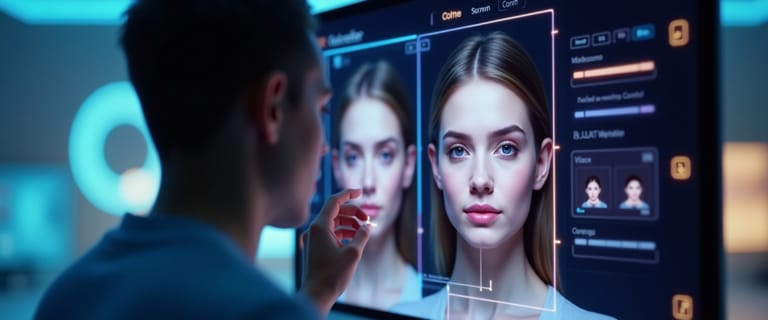
To truly fix a bad angle, you need a tool that thinks in 3D. Expression Editor AI is a revolutionary tool that allows you to do just that. It uses a sophisticated AI model trained on facial anatomy to allow for digital reposing.
You're not just editing a photo; you are instructing an AI to render a new version of the subject with a different head position, all while preserving their unique identity and ensuring the result is photorealistic.
A Step-by-Step Guide to Fixing Bad Camera Angles
Let's walk through how to save a "lost" photo by digitally reposing the subject.
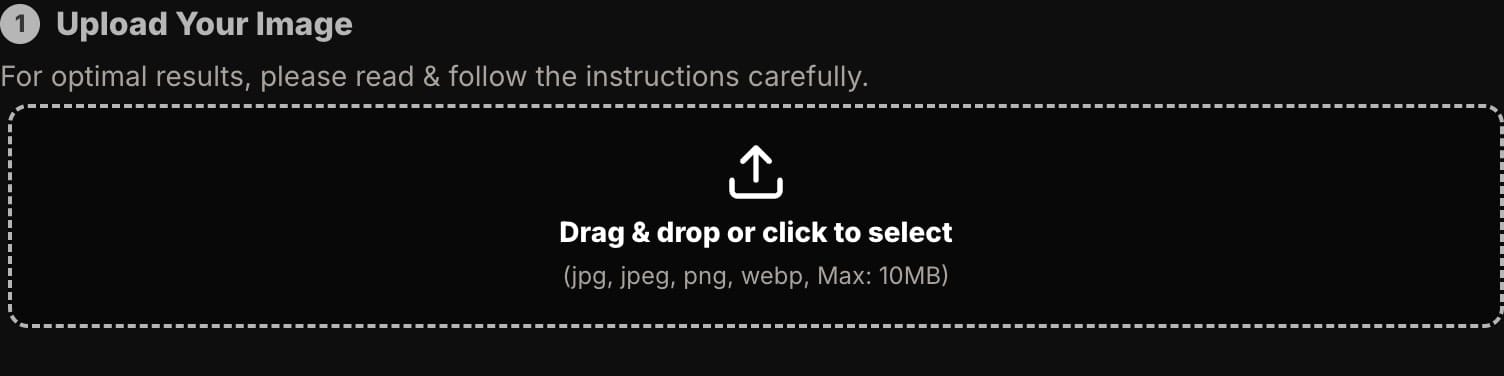
Step 1: Upload Your Problem Photo
Navigate to the 'Face Edit' Feature and upload the image with the problematic camera angle.
Step 2: Open the 'Head' Control Panel
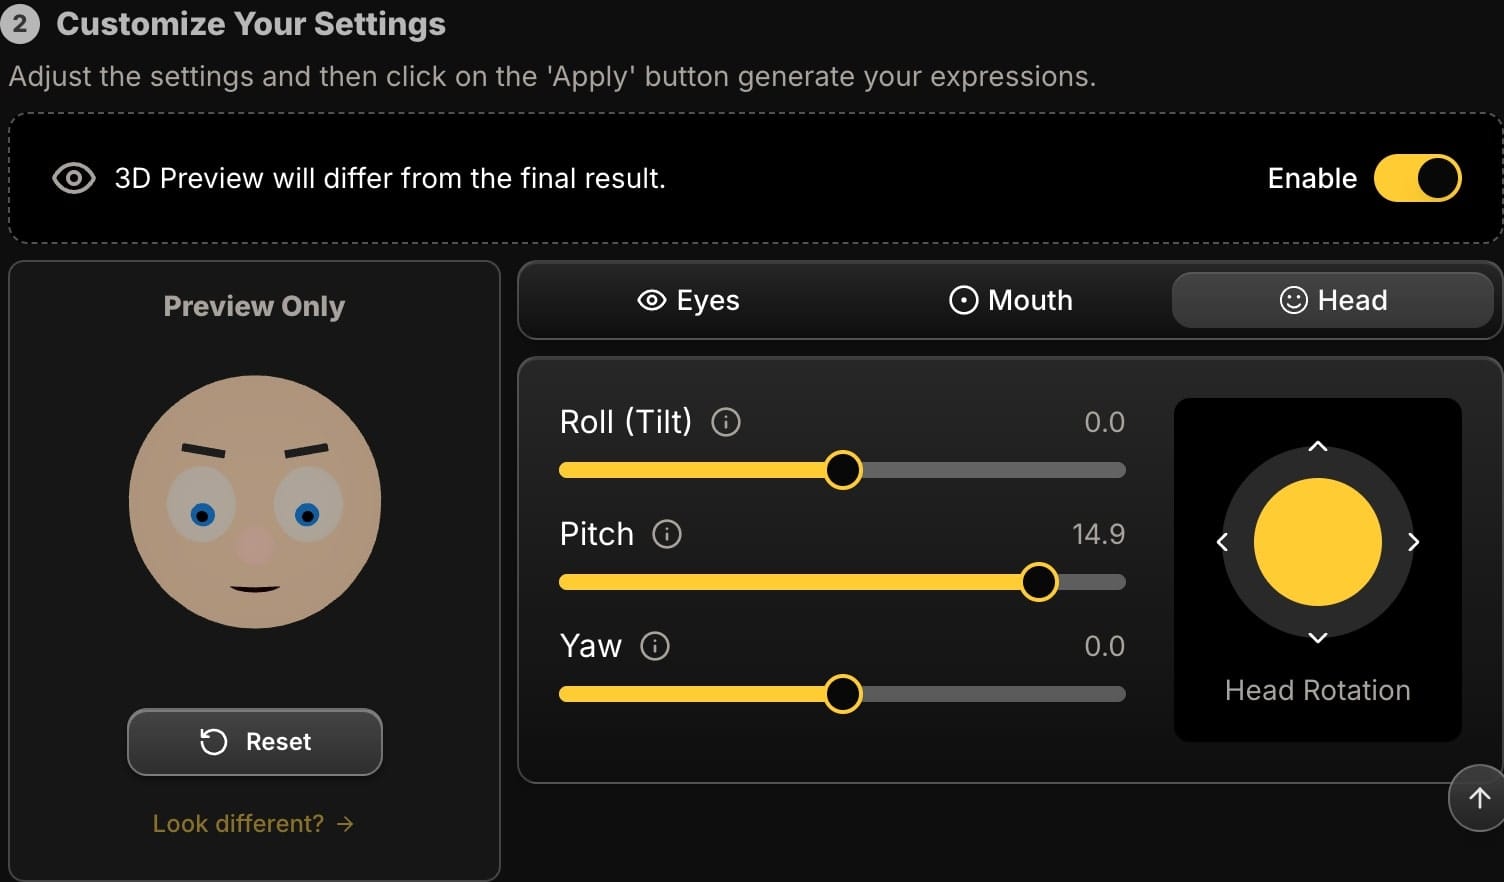
On the left-hand side, click the "Head" tab. This is your digital reposing studio, containing the three primary controls for head movement.

Step 3: Diagnose the Angle and Apply the Fix
Identify the core issue with the angle and use the precision sliders to correct it. Here are some common problems and their AI-powered solutions:
Problem: The "Up-the-Nose" Angle (Camera was too low)
This is a classic unflattering angle that makes a person's chin disappear and their face look wider.
- The Fix: Use the Pitch slider. Move it to the right (a positive value) to gently lower the subject's chin. Even a small adjustment can completely correct the perspective, creating a much more flattering and powerful jawline.

Problem: The Awkward, Unintentional Head Tilt
Sometimes a head is tilted in a way that just looks unnatural or disconnected from the moment.
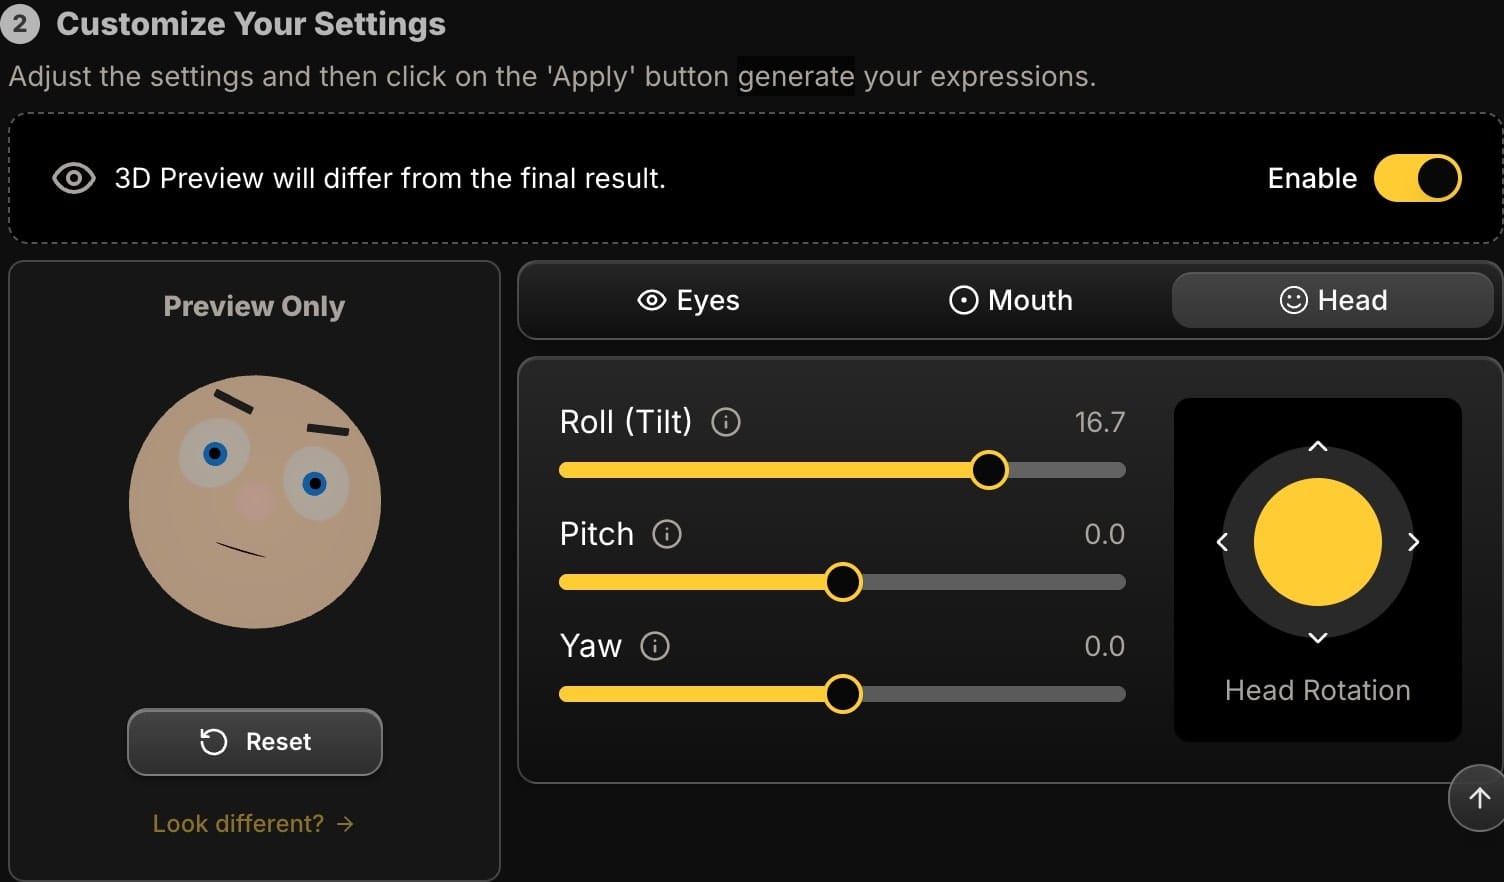
- The Fix: Use the Roll slider. You can either move it back towards zero to completely straighten the head for a more direct, formal look, or you can adjust it slightly to create a more intentional, engaging tilt.

Problem: Subject is Looking the "Wrong" Way
The composition is perfect, but the subject's head is turned slightly too far away, breaking the flow of the image.
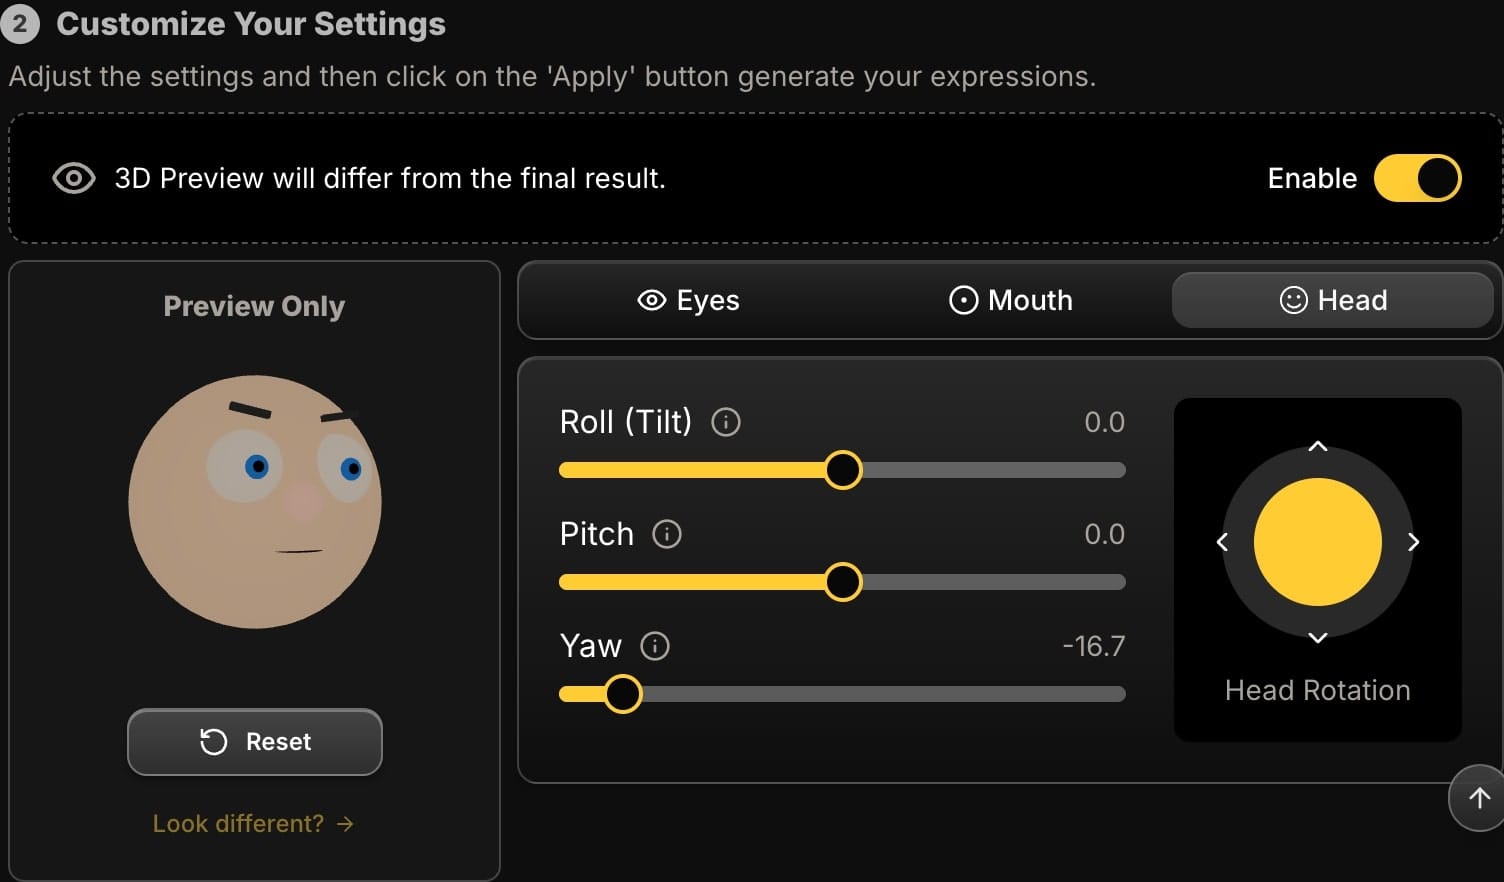
- The Fix: Use the Yaw slider. Gently turn the head back towards the camera or the intended focal point of the image. This can dramatically improve the storytelling and compositional balance of your photo.

Step 4: Preview and Generate Your "Reshoot"
The 3D preview avatar is an essential guide. It uses a simple avatar to instantly show you the effect of your reposing adjustments, allowing you to fine-tune the new position with confidence before generating the final image. Once you've corrected the angle, click "Apply". The AI will render the changes on your actual photo to generate a new, high-resolution image—your virtual reshoot.
Beyond Fixing: A Tool for Creative Exploration
Digital reposing isn't just a corrective tool. It's a creative one. From a single, static headshot, you can now generate a dozen variations with subtle differences in head position. This is invaluable for A/B testing ad creatives, creating a series of social media posts with slightly different moods, or simply finding the absolute most powerful version of a portrait.
Conclusion: Never Again Lose a Photo to a Bad Angle
The ability to digitally repose a subject is one of the most significant advances in photo editing for professionals and hobbyists alike. It turns previously unsalvageable photos into portfolio-worthy assets. By moving beyond the limitations of 2D editing and embracing AI, you gain the power to fix, refine, and perfect your portraits in ways that were impossible just a few years ago.
Ready to save your best shots from bad angles? Try Expression Editor AI and repose your way to the perfect portrait.