The Old Way vs. The New Way
For years, changing a photo's background meant a tedious date with Photoshop: painstakingly tracing edges with the Pen Tool, refining masks, and then finding and blending a separate background image. It's a powerful but slow process that requires technical skill.
Today, there's a new way. With Expression Editor AI, you can achieve better results in a fraction of the time. This guide will walk you through how to use the Scene Swap feature to add any custom background you can imagine, just by describing it.
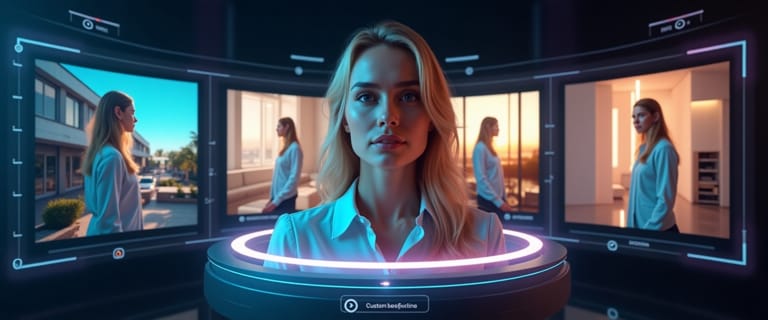
Meet Scene Swap: Your AI Background Studio
Expression Editor AI's Scene Swap is an AI-powered tool that intelligently separates the subject from your photo and generates a brand-new background based on a simple text prompt. It handles the complex work of masking, lighting, and blending, so you can focus on the creative vision.
Step-by-Step Guide to Changing Your Background
Let's transform a photo. For this tutorial, we'll start with a standard headshot and place it in a dynamic new environment.
Step 1: Upload Your Image
Navigate to the Scene Swap tool in your dashboard and upload your photo. For the best results, use a clear image where the subject is well-defined.
Step 2: Write Your Magic Prompt
This is where the creativity begins. In the "Prompt" box, describe the new background you want. The more specific you are, the better the result.
Prompting Tips:
- Simple: "A professional office with a blurred background."
- Detailed: "A cozy fireplace reading nook with warm, soft lighting."
- Creative: "A futuristic cyberpunk city with neon lights and flying cars."
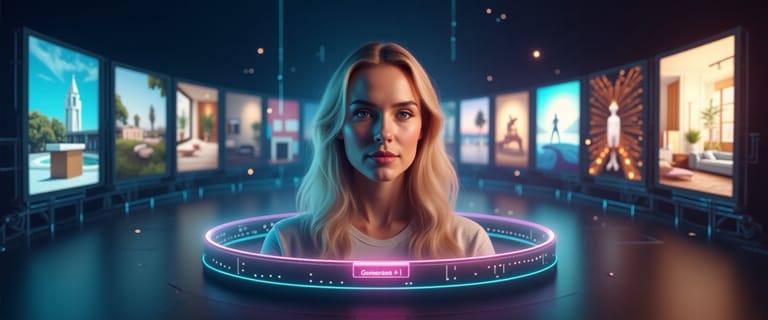
Let's try: A serene lake at sunset with snowy mountains in the distance.
See our demos for inspiration, like this Tropical Beach, this Cyberpunk City, or create festive backgrounds for any occasion. Try a Cozy Christmas Living Room for the holidays, an Enchanted Halloween Forest for a spooky vibe, or add beautiful Golden Bokeh Lights for a celebratory feel.
Step 3: Master the Negative Prompt
The "Negative Prompt" tells the AI what not to include. This is incredibly useful for refining the quality of the background and avoiding common AI artifacts. A good default negative prompt is:
blurry, distorted, watermark, low quality, pixelated, deformed, cut-off
This helps ensure your final image is clean and professional.
Step 4: Fine-Tune with Technical Settings
For even more control, you can adjust two key settings:
- Steps (1-50): This controls the processing effort. Lower steps (~20) are faster for previews, while higher steps (30-50) produce more detail and quality in the final render.
- Guidance Scale (1-20): This determines how strictly the AI follows your prompt. A low value (e.g., 3-6) gives the AI more creative freedom, while a high value (10+) makes it adhere very closely to your description. A good starting point is usually around 5-7.
Step 5: Generate and Download
Hit "Apply" and watch the magic happen. The AI will generate your new background, seamlessly blending your subject into the scene. If you're happy with the result, you can download it in high resolution.
Bonus Tip: Creating Transparent Backgrounds
What if you just want to remove the background? The Scene Swap tool has you covered. Instead of writing a prompt, find the setting labeled "Looking for transparent background?" and click the "Enable" switch. The AI will remove the background and provide a high-quality PNG with a transparent background—perfect for logos, graphics, and e-commerce.
Why This Beats the Photoshop Method
- Speed: What takes 20-30 minutes of manual masking in Photoshop takes about 30 seconds with Scene Swap.
- Ease of Use: No complex tools to learn. If you can describe it, you can create it.
- Creativity: You're not limited to existing stock photos for your backgrounds. You can generate a completely unique scene every time.
- Quality: The AI-powered edge detection and lighting a-djustments often produce more natural-looking results than manual blending.
Frequently Asked Questions
Q: How can I get the most realistic custom background? A: For the most realistic results, start with a high-quality, well-lit photo of your subject. When writing your prompt, be specific about the desired lighting (e.g., "soft morning light," "dramatic sunset glow"). Our AI will use this information to harmonize the lighting between your subject and the new AI background, creating a natural blend.
Q: What if I only want to remove the background and make it transparent? A: That's easy! Instead of writing a prompt, find the setting labeled "Looking for transparent background?" and click the "Enable" switch. The AI will remove the background and provide a crisp PNG image of your subject with a transparent background, perfect for graphic design or e-commerce.
Q: Do I need a green screen or a plain background for this to work? A: No, and that's the magic of it. Unlike traditional methods that rely on green screens for easy keying, our AI can intelligently identify and isolate the subject from almost any background. Whether your photo was taken in a busy office or an outdoor park, you can add a custom background without any prior setup.
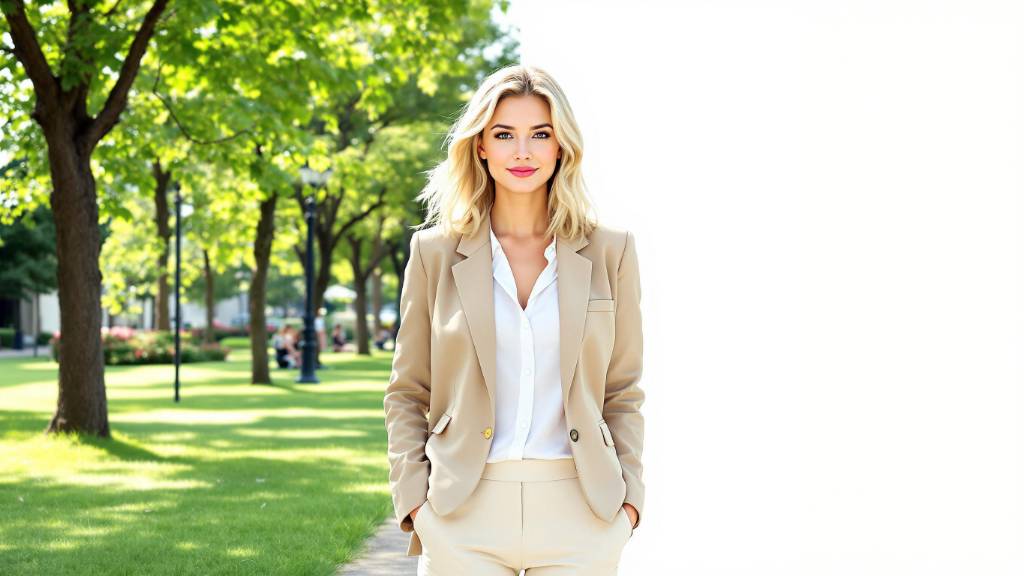
Q: Can I use this to change the background of a professional headshot? A: Absolutely. Scene Swap is ideal for creating professional headshots. You can easily replace a distracting home office background with a clean, professional one. Try prompts like "a modern office with a blurred background" or "a solid light gray studio backdrop" to create consistent, high-quality headshots for your entire team.
Conclusion
Changing photo backgrounds is no longer a task reserved for editing experts. With tools like Expression Editor AI's Scene Swap, anyone can create professional, custom backgrounds in seconds. It's faster, easier, and opens up a world of creative possibilities that traditional methods can't match.
Ready to place yourself in a new scene? Try Scene Swap and see what you can create.